Belts. Singlets. Knee sleeves. Wrist wraps. There are so many powerlifting gears out there, what should you get first? Worry nay, we are here to provide emotional support and information for your Gear Acquisition Syndrome (GAS).
This article is written based on brands available in Singapore. We have also arranged the sections based on priority. If you have tried out brands and equipment not covered here, tell everyone about them in the forum!
1. Shoes (Flat soles)
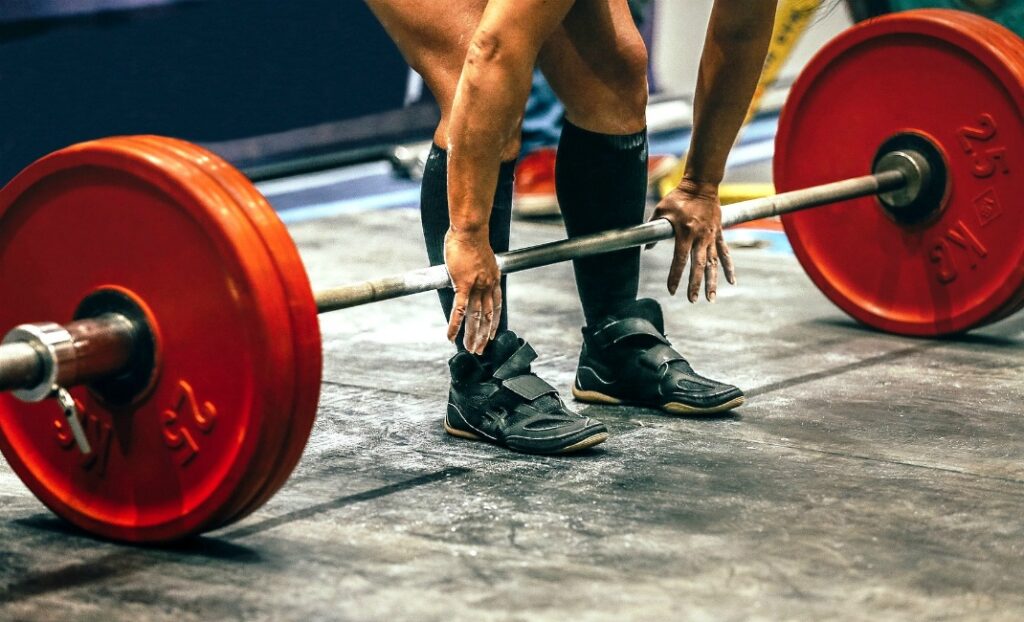
Function: Improves stability while lifting.
Price Range: ~$15 – 100+
Types: Warrior shoes, Vans, Converse, Wrestling/boxing shoes, Powerlifting specific shoes (SABO deadlift shoes, Deadlift slippers)
Shoes form the literal foundations for the powerlifts, which is why it ranks first on our list. A good, incompressible pair grounds the feet and reduces instability while lifting.
Warrior shoes: Less than $20 a pair with decent build quality and comfort. The soles are thin and grippy. They are a great choice for all the powerlifts.
Vans (or other skateboarding shoes): Priced higher compared to the Warriors. They usually have a very thick and not-so-grippy sole. While they are still a popular choice of footwear for the squat, many people steer clear of it for the deadlift as the thick sole adds extra range of motion. Not much, but some say every inch matters.
Converse: High price point and low build quality when it comes to lifting. Most lifters who own them had to replace them pretty often. They also have thick and slippery soles, and an upwards-pointing toe box, which makes it hard to ground your whole foot.
Wrestling/Boxing shoes: Hard to find in local stores and often, they must be sourced online. These shoes are relatively expensive, not accounting for shipping fees. They have very thin, grippy soles, which makes them popular for sumo deadlifters. They are great for the squat and bench press as well.
Powerlifting specific shoes (SABO deadlift shoes, Deadlift slippers): SABO deadlift shoes are similar to wrestling and boxing shoes with their thin and grippy sole. However, nothing can be thinner than a good pair of deadlift slippers, which is akin to lifting in a pair of socks. However, that would also mean they often lack lateral support in the soles, and lifters may find their feet rolling over the soles during a squat or sumo deadlift. Also, they are relatively expensive and have to be shipped from overseas.
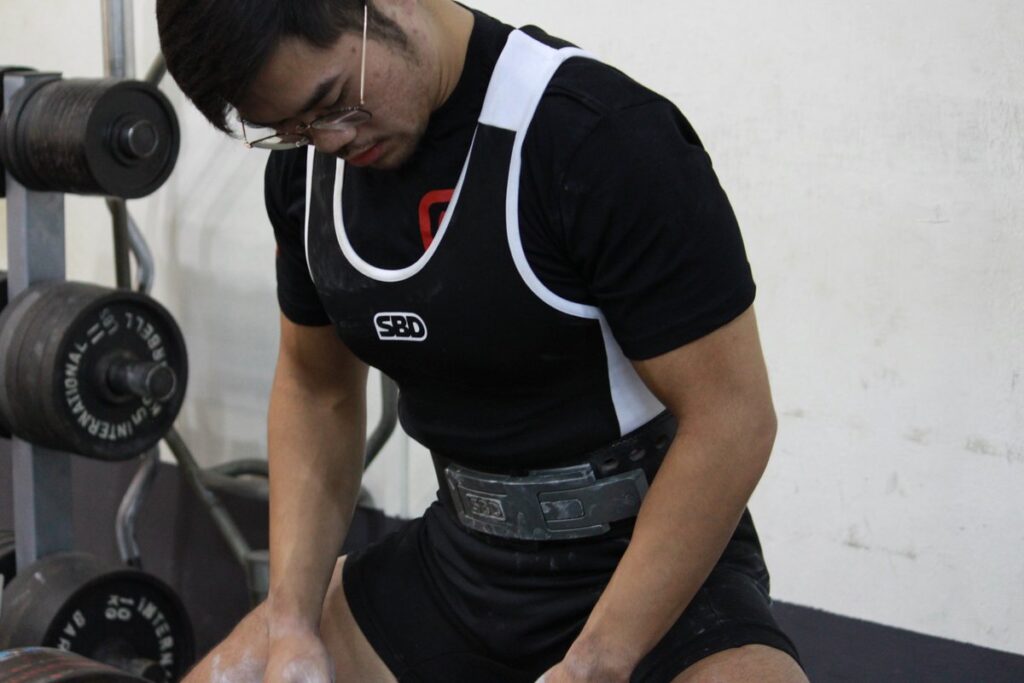
2. Powerlifting Belt
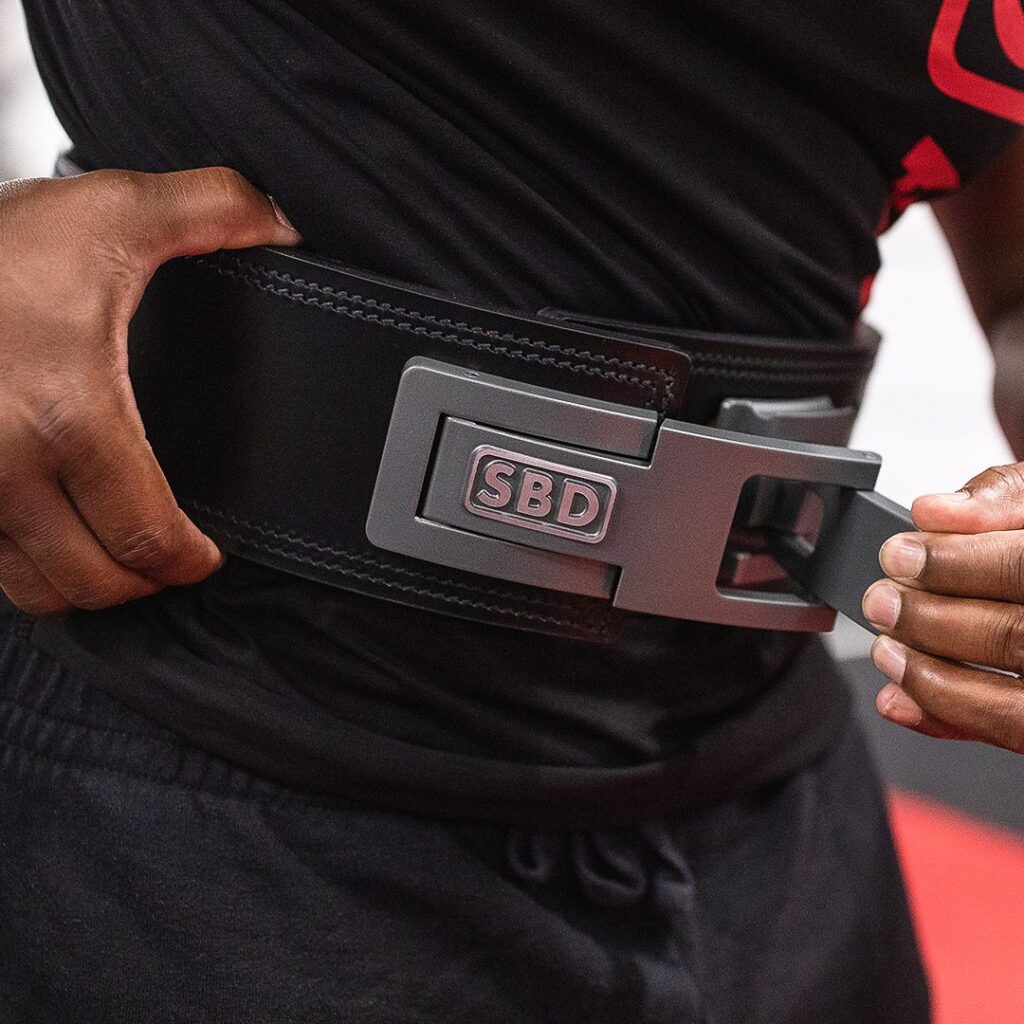
Function: Help lifters brace while lifting.
Price Range: ~$130 – 300+
Types: Prong belt, Quick-release belt, Lever belt, SBD belt
You know you’re on your way to becoming a powerlifter when you put on the belt for the first time. Once you’ve gotten familiar with the powerlifts, it’s good to invest in a sturdy belt. In a nutshell, a sturdy and solid belt provides a “wall” for you to brace against, increasing intra-abdominal pressure as you breathe and brace. This helps in keeping your torso more rigid during your powerlifts.
Among the IPF-approved brands, you can’t go wrong with Titan, Inzer, Iron Tanks, A7, and SBD, though the latter three have a higher price tag. There are other IPF-approved brands that have lower price tags, such as Stoic and Strength Shop. However, we observe that they are not as popular among competitive powerlifters.
There are 2 main categories that lifting belts fall into, namely prong belts and lever belts. A good lifting belt has a consistent width (usually 4mm) and thickness (10mm or 13mm) throughout, and they are made of quality leather that is sturdy and durable, but the leather will break in with use. The first few times wearing the belt will cause bruises and abrasions. That is normal with the hard leather, and you can break in the leather faster if you curl up the leather and stuff it under your mattress. Roll the leather up both ways to get it softer whenever you’re watching YouTube. In general, unless you are hella thiccc and above 100kg in bodyweight, go for the 10mm.
Prong belt: Prong belts can come in a single or double prong; go for the single prong. Prong belts are easily adjustable, and great for lifters who need to adjust their belt on the fly.
Quick-release belt: A precursor to the lever, the quick-release is exactly what it says on the label. Locally, a common brand would be Wahlanders/Eleiko, which carries with it a high price tag and a tasteful design. Take extra care of the belt to lengthen its lifespan, as the quick-release mechanism can scratch the belt. Based on brand experience, you may look into Titan if you wish to get a quick-release belt. Note that we have limited hands-on experience with this specific brand and belt.
Lever belt: Lever belts are popular among powerlifters for its convenience and cool factor. Simply clasp the lever shut to tighten the belt. However, changing the belt notch requires a screwdriver or a coin in order to unscrew the lever. Beware, you will get stuck the first time you put it on – push the two ends of the belt together to get the catch unhooked.
SBD belt: One day, the prong belt and lever belt got married and had a beautiful baby: the SBD belt. The SBD belt is unique as it has both the feature of a lever belt, and the adjustability of a prong belt. With its unique design, you do not need to unscrew the lever to adjust the setting on the belt. However, its price runs over $300. The SBD belt only comes in 13mm thickness as well, unlike most belts which offer both the 10mm and 13mm thickness options.
Except for SBD, other brands must be shipped in from overseas. The weight and dimensions of the belt will break your bank shipping it. One option is get your friends to chip in and make use of third-party shipping services. If not, then Carousell is your best friend. Generally, well-built belts last a long time so in some cases, it is a better choice to get a pre-loved belt compared to getting a first-hand low quality belt. How to clean: wipe the leather and metal parts with a slightly damp rag. The belt dye might run off a little. You can also go the extra mile with a leather conditioner.
Not sure if or why you should wear a belt? Give this a read.
3. Knee Sleeves
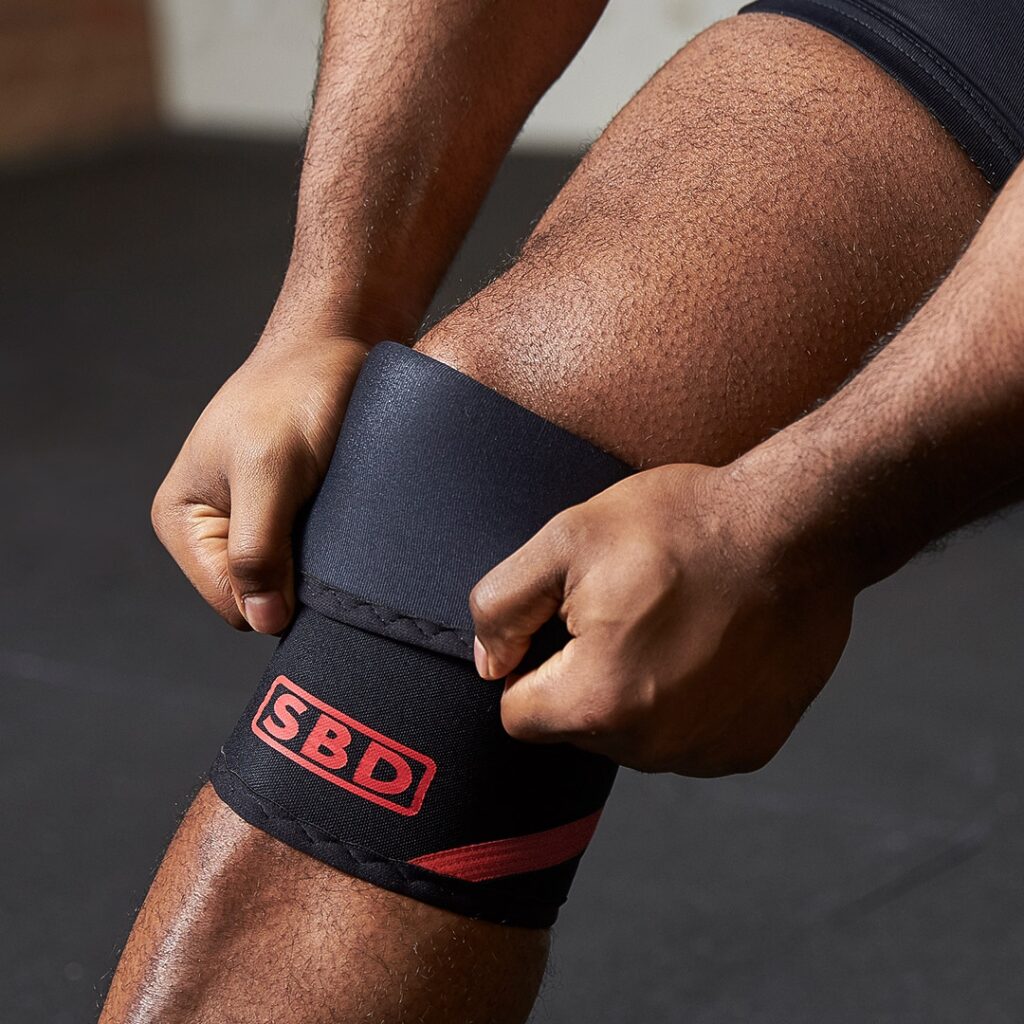
Function: Provide support for the knees.
Price: ~$80 – 130
Knee sleeves are made of neoprene, and run up to 7mm in thickness (maximum legal thickness in competition). A good pair of knee sleeves provides support in the bottom of the squat, translating to slightly increased competitiveness. That being said, it is a good idea to develop the squat without relying on sleeves. They can add some kilos onto your squat, but they are not a panacea.
The gold standard is still SBD, and stands as the most popular choice for powerlifters. There are other brands that sell quality knee sleeves, such as A7, Mark Bell’s SlingShot, Stoic, and Titan. Not only are they competitive in terms of build quality, some brands such as A7 and Stoic have a lower price point. Also, SBD only offers 1 colorway for its knee sleeves (excluding the occasional limited-edition release). Brands such as A7 and Mark Bell’s SlingShot offer a variety of colorways for powerlifters who love to match and complete their lifting outfit.
However, only the SBD and A7 knee sleeves can be sourced locally. This is an important consideration because sizing your knee sleeves can be a real challenge, especially for people with bigger calves. We recommend trying your friends’ sleeves (if your friend is hygienic) or at the local SBD and A7 retailer. They allow you to make an appointment to try on knee sleeves to get the right fit. The worst that can happen if you get knee sleeves too small is that you get a pair of calf compression sleeves instead. For A7, you can either run the same size as your SBDs or 1 size down.
As a rule of thumb, getting pre-loved sleeves depends on how well you know the seller and their hygiene habits. Wash your sleeves, guys! Turn the sleeves inside out and hand wash it under warm, soapy water. Make sure that you don’t scrub the decals off. Hang it up to air-dry afterwards. A good time to wash your sleeves is during your deload.
4. Wrist Wraps
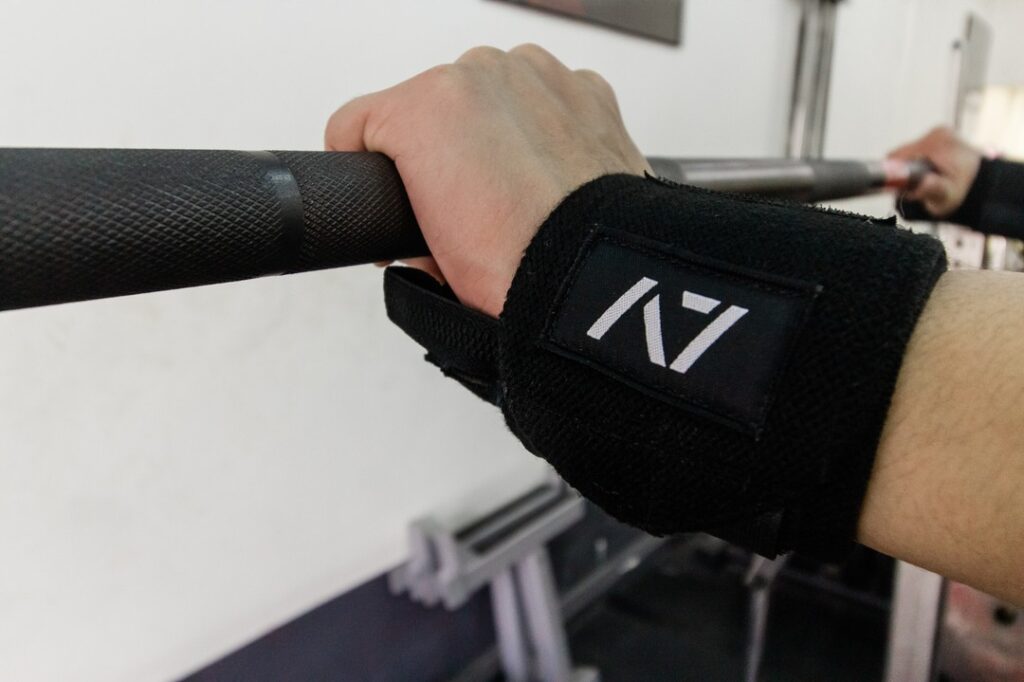
Function: Provide support for the wrists.
Price Range: ~$25 – 75
The main purpose of a pair of wrist wraps is to provide support and stabilization for your wrist joints. Wrist wraps mechanically limit excessive extension under load. This helps relieve some strain off your wrist on the squat, bench press and the overhead press.
Wrist wraps may come in various lengths, and the appropriate length to purchase depends on the circumference of your wrist joint. Also, refer to the federation you compete in for the maximum competition legal length. However, there are generally 2 types of wrist wraps that you need to look out for, which are mainly flexible wrist wraps, and stiff wrist wraps.
Flexible wrist wraps: Generally a lot more comfortable to wear and a lot easier to wrap. They allow some degree of wrist flexion and extension as well. In some cases, this might be desirable as some lifters like to squat or bench press with a slight wrist extension.
Stiff wrist wraps: Offers a little bit more support and restricts the movement of the wrist joint a lot more. However, it is harder to wear compared to flexible wrist wraps, and prolonged wear – 2 to 3 minutes – will start to restrict blood flow and cause temporary numbness. Think about how you lift, and which type suits you best!
Most brands will offer 2 or 3 different length options, and they are generally within the same price range. For brands such as SBD and A7, they offer their wrist wraps in both the flexible and stiff option. Other brands such as Titan, Inzer and Mark Bell’s SlingShot offer both flexible and stiff options as well. Make sure to check what type of wrist wraps they are before purchasing. We recommend that you try your friends’ wrist wraps before buying them too (again, if they are hygienic). And as always, wash your wrist wraps, guys! Use the same protocol you would for your knee sleeves.
5. Competition Singlet
Function: To compete.
Price Range: ~$80 – 120
Powerlifting is a sport, and to properly participate in a meet you will need a singlet. That being said, a singlet doesn’t offer any competitive advantage beyond making you feel like a naked idiot in the ActiveSG gym beside the aunties doing Pilates. As such, the brand of singlet that you choose to get really depends on your sense of aesthetics and budget. For newbies, we recommend borrowing the singlet, as you will only need to wear it a handful of times. Getting a ballpark sizing is sufficient as the material is really stretchy.
How to wear the singlet for dummies: roll down and outwards the straps of the singlet unless you make a pair of tights. Seat them well in your crotch and tuck in your T-shirt. Roll up the straps over your shoulders to complete your transformation. Make sure you get comfortable in them before you step onto the platform. Hand wash as you would your knee sleeves after every training session.
6. Weightlifting Shoes
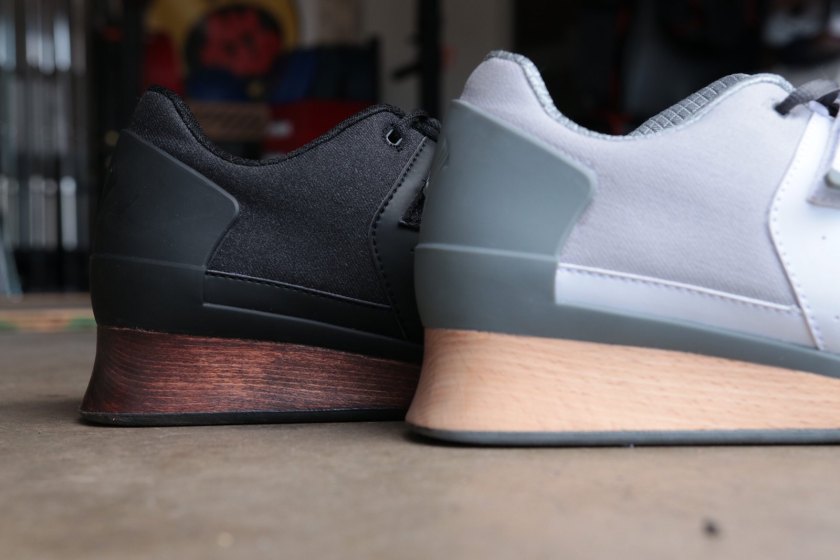
Function: Elevate the heels and aid with ankle dorsiflexion.
Price Range: ~$120 – 250+
Weightlifting shoes are the luxury sports cars of powerlifting. How do you know if you need shoes with a raised heel? The best way to know is to try squatting in them, in both high and low heels. One sign to look out for is if the foot collapses as you’re trying to hit depth, or if you’re having difficulty hitting depth even after trying different stances. However, these shoes are usually unavailable in retail stores, and have to be shipped from overseas. Thus, it adds on to the high price point of the shoes. In terms of resale opportunities, it is difficult to recoup what you spent on the shoe. Aesthetics, sizing, heel height and condition of the shoe greatly affects how likely you will find a shoe you want on Carousell. This goes for finding buyers for your size 13 shoes as well.
And those are our thoughts and opinions on powerlifting equipment. On a side note, SBD Singapore has also set up a Facebook group, where their ambassadors Clinton, Ashton and Natalie give their review/thoughts on the equipment. You can head on over and hear from them as well!
As always, if you have any further questions, feel free to post your questions in the forum.